Firewood Shed Making Schematics 14x6 - Instructions For Putting together A Shed in Your Yard

There are certain building regulations you have to comply with, that vary according to your residence. Normally, floor beams are spaced 16 inches apart on center. As we are creating a box, they should be at a right angle. The walls have a continual top plate nailed to them as well. Cut the components at right size and lock them together with galvanized screws. So that you don't end up with a sliver of siding as your (https://sheddrafts.com/12x16-gable-wooden-shed-building-plans-blueprints) last piece, dry-fit the pieces of siding across the side and adjust them until two end pieces are relatively even. If you move slowly, this is less likely to happen.
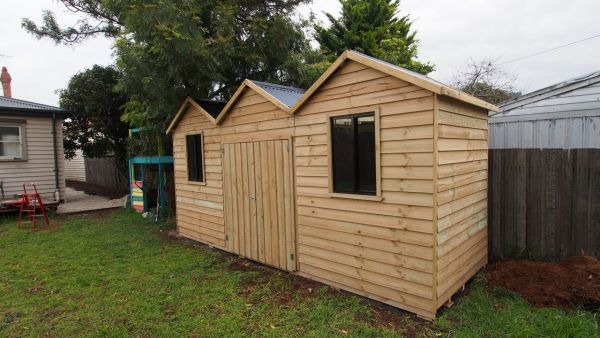
Find the highest corner of site and excavate for the first foundation corner block. Cut sheets to right size with a circular saw. The hole and angled trim at both ends means the shed could be pulled from either end. Leave no gaps between components and add glue to enhance the joints. Houses have gable, hipped, mansard, gambrel, flat, and outbuilding roofs. If your chimney opening is less than 24 inches wide, no modifications to your design are necessary. A correctly made foundation will protect your shed and its contents, and any warranty your outbuilding may have. Uneven ground makes doors stick and affects stability of your shed.
Or how far to place it from your property line. In this manner the wood would resist against water damage and decay. Because wall frames were made and braced square and (site link) floor is level, the frames will automatically be plumb. The large front door adds a unique appeal to project. Install metal strapping by nailing it to all of the rafters. With both doors closed, and the metal overlapping, the edge of the doors seems to almost disappear. To construct these cuts one could use simple trigonometry, construction calculator, on line calcs or even phone apps can do math for you.
If it supports your weight and does not crumble when scrapped or twisted by hand you have a suitable building material. On-grade foundations sit right on the ground and are sufficient for all but very largest outbuildings. Lay out the plates -- or 2-by-10s or 2-by-12s if you are using these, which are more expensive -- end to end on subfloor of the building. Use pressure treated lumber or cedar for the skids. The outbuilding shown is permanent, not movable, so it may be subject to additional permits and regulations. Measure up for the side posts and mark their heights, making sure these are level all around building.
Start by cutting and installing the perimeter boards. Once the siding has been installed chop the side siding along the rafters. Carefully trim out the door opening, the door would be built using the siding that has been trim out. Study all the details before jumping in, so you understand how everything goes together. Once you have finished framing process, you will have a storage facility that is limited only by your imagination. Toenail thru the joists into skids. You're right regarding double door header. We also framed up door right before starting to put trusses up. If the drill goes straight through the floor, move it over a couple of inches and drill another hole.
The post holes should be about 4 feet apart. Measure end truss spacing from outside edge of the end trusses to center of the closest truss, not including the siding. In this case, you have nothing more than a few carefully placed garrets that are laid on top of outer walls. We place them high so the warmest air escaped, and we put them opposite the windows for cross ventilation. Everything was going great until measurements were not given about window and door. You'd be better off using a powered winch. Align the bottom of sheets to the bottom edge of the joists.
For example, end nail all plates to studs. Keep in mind that a heavy truck could damage your yard and driveway. If you could run a single, unbroken top plate you'll need to slice studs 93 inches long for a final 8-foot-tall shed wall. Install the plates flush with outsides of end rafters. This can be shaped from 75mm x 25mm stock and fixed to casing directly above the door. Now that you know panel size you could determine how you want the panels to stand in wall. Fix lower end of the common garrets to side wall top plate by angle nailing through side of rafters into the top plate.